Have you heard of ClawdBot? It is a very popular open-source personal AI assistant. Unlike traditional chatbots that simply wait for instructions, ClawdBot has a degree of initiative: it can message you proactively, manage tasks, and run on your own local device.
Many tutorials recommend running it on a Mac Mini or a Linux server, but running it on Windows is perfectly fine too.
In this post, I will walk you through installing ClawdBot on Windows, configuring it to use Google’s Gemini API (currently one of the best AI model options, with a free quota), and connecting it to Telegram, so you can chat with your AI assistant anywhere.
🛠️ Preparation
Before starting, make sure you have the following:
- A computer running Windows 11.
- A Google Gemini API key: you can get one for free from Google AI Studio .
- A Telegram account: you will use it to create your bot.
Step 1: Install WSL2 (Windows Subsystem for Linux)
Key point: ClawdBot cannot run natively in Windows PowerShell or CMD. It needs a Linux environment. Fortunately, Windows already provides a very good tool for this: WSL2.
Open the Windows Start menu, find PowerShell, right-click it, and choose Run as administrator.
Enter the following command and press Enter:
wsl --installRestart your computer.
After rebooting, open the Microsoft Store, search for “Ubuntu,” and download and install Ubuntu 24.04.1 LTS.
Open Ubuntu. It will ask you to create a username and password. Tip: when entering the password, nothing will appear on the screen. This is normal. Type it and press Enter.
Once you are inside the Ubuntu terminal window, we can continue.
Step 2: Install Node.js the Right Way
ClawdBot needs a relatively recent version of Node.js (v22+). The version bundled with Ubuntu is usually too old, so we will use NVM (Node Version Manager) to install the latest version.
Run the following commands in the Ubuntu terminal you just opened:
Download and install NVM:
wget -qO- https://raw.githubusercontent.com/nvm-sh/nvm/v0.39.7/install.sh | bashReload environment variables so the system recognizes NVM:
source ~/.bashrcInstall the latest Node.js:
nvm install --ltsVerify the installation:
node -v
npm -v
If both commands print version numbers, the installation succeeded.
Step 3: Install and Configure ClawdBot
Now comes the easiest part. ClawdBot provides a one-line installation script. Run this in your Ubuntu terminal:
curl -fsSL https://clawd.bot/install.sh | bash
The script will automatically download the required files and install ClawdBot globally inside your virtual Linux system.
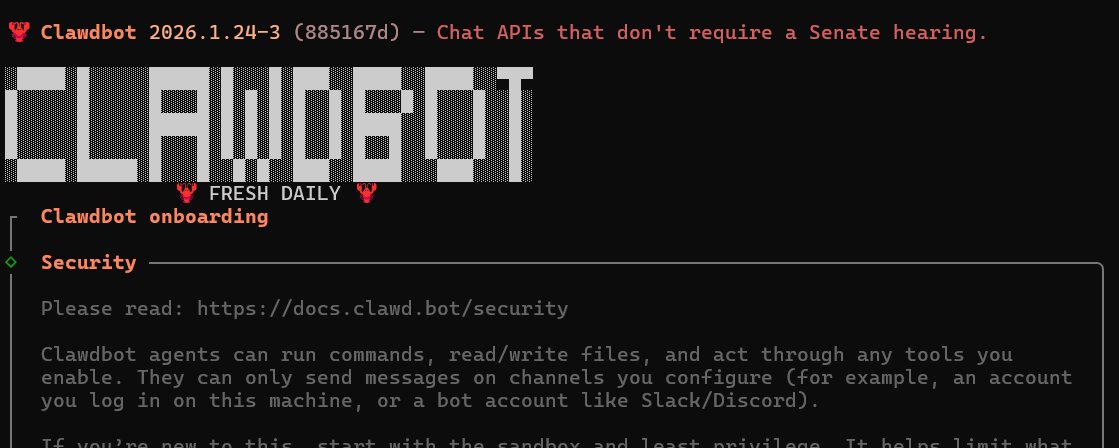
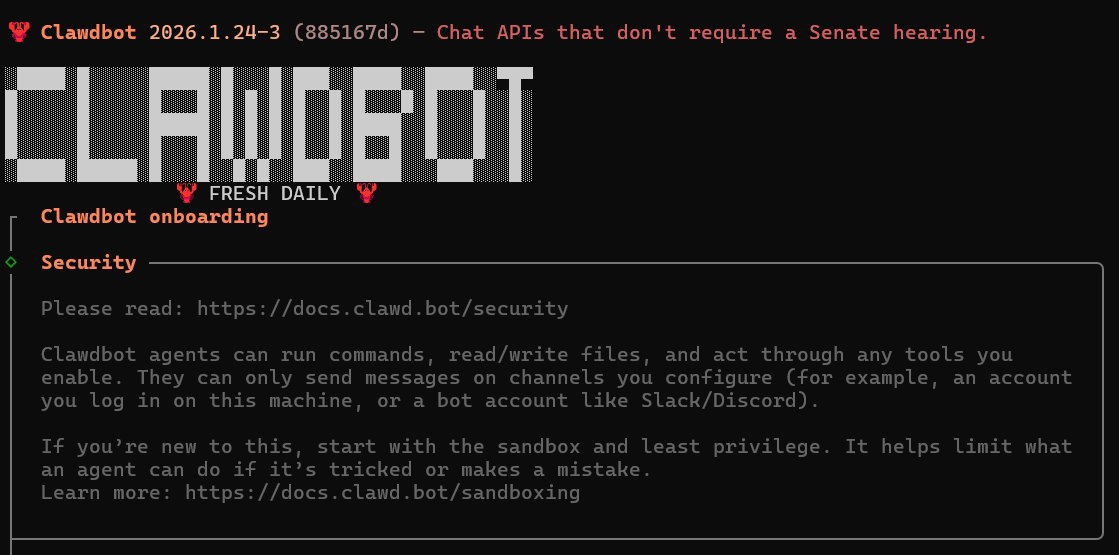
After installation, if you see the following screen, it means ClawdBot has been installed successfully:
After installation, we need to do a quick setup.
Start the setup wizard with:
clawdbot onboardFollow the prompts:
- Understand this is risky: choose Yes.
- Onboarding mode: choose QuickStart.
- Model provider: choose as needed; here we choose Google Gemini.
- API key: paste the Google AI key you created earlier.
- Default model: choose as needed. I recommend
gemini-2.0-flash(fast and low-cost) orgemini-2.0-pro(smarter). - Select channel: choose as needed. I recommend Telegram.
Step 4: Configure the Telegram Bot
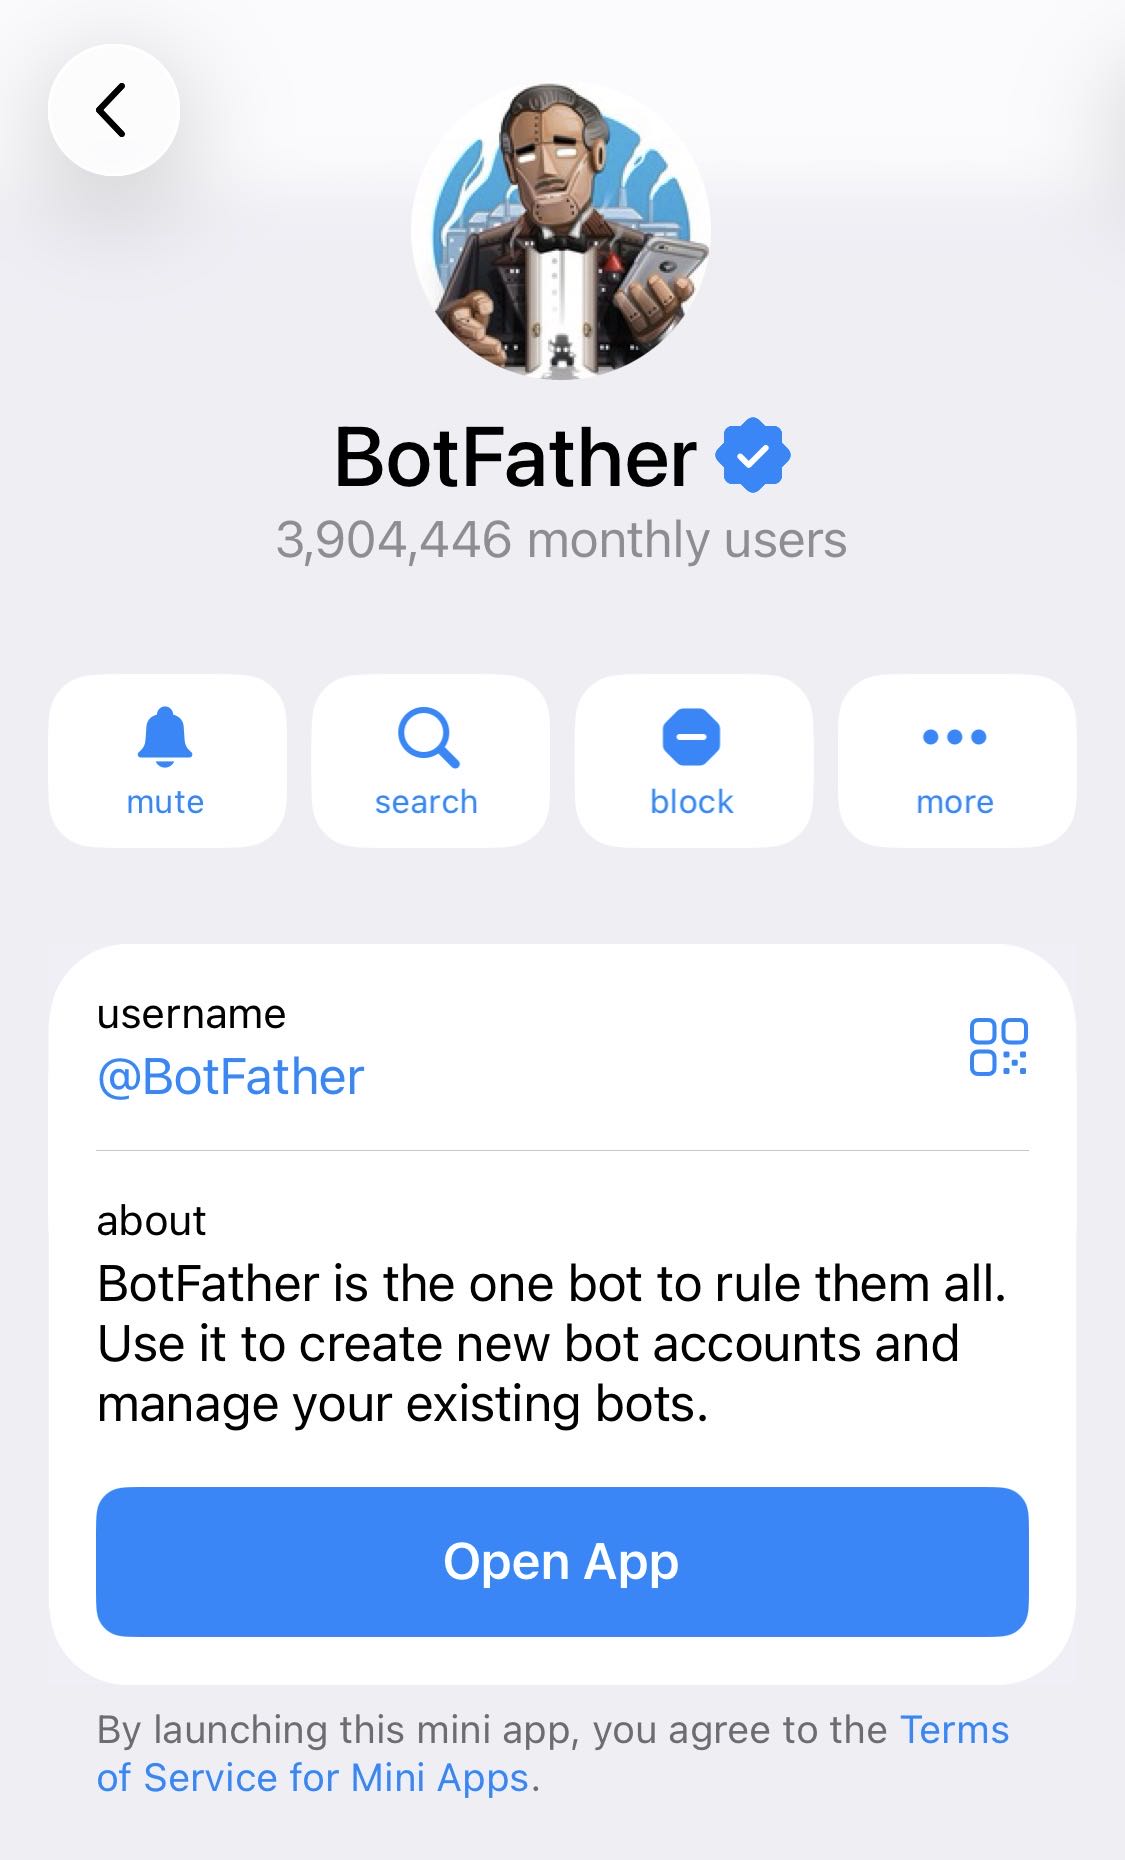
After choosing Telegram, ClawdBot will ask you for a Bot Token. Open Telegram on your phone or computer and search for @BotFather .
Send /newbot to BotFather. It will ask you to give your bot a display name, such as “My Jarvis,” and a username, such as my_private_clawd_bot. BotFather will then give you an API token that looks like 123456:ABC-DEF.... Paste this token back into the Ubuntu terminal window.
Continue configuring ClawdBot. Skills and Hooks can be skipped for now. For the monitoring method (how to hatch your bot), choose according to your needs. I recommend monitoring it directly in the command-line TUI.
Once the above steps are complete, your ClawdBot is officially running.
Step 5: Pair Your Device
For security reasons, your bot will not respond to strangers by default. You need to pair it with your Telegram account.
- Make sure ClawdBot is running in the terminal. Open the bot you just created in Telegram and tap Start (or send
/start). - The bot will reply with a pairing code.
- Go back to your Ubuntu terminal. You should see a prompt asking for approval.
- Follow the on-screen instructions and enter the approval command with the pairing code.
🎉 Done! Your bot is online and ready.
Step 6: How to Use It
Now you can chat with your bot directly in Telegram. Try prompts like:
- “Summarize this article for me:” followed by a link.
- “Remind me to turn off the oven in 20 minutes.” It will message you proactively when the time comes.
- “What’s the weather in Tokyo right now?”
Keeping It Running in the Background
Because this program runs on your own computer, the bot will go offline if you close the Ubuntu window or shut down the machine. To keep it running in the background while using Windows, you can:
- Simply minimize the Ubuntu terminal window instead of closing it.
- Or learn to use tools such as
tmuxorscreeninside Ubuntu to keep the session alive.
Common Troubleshooting
- Error: “Command not found”: make sure you are entering commands in the Ubuntu (WSL) terminal, not Windows PowerShell.
- The bot does not reply: check the logs in the terminal. If you see Gemini API errors, your key may be invalid, or you may have hit rate limits due to heavy usage. In that case, you may need to enable pay-as-you-go billing in Google Cloud.
Enjoy your new AI companion. Unlike ChatGPT, it lives on your hard drive, understands your context, and can contact you proactively when it thinks you need to know something.